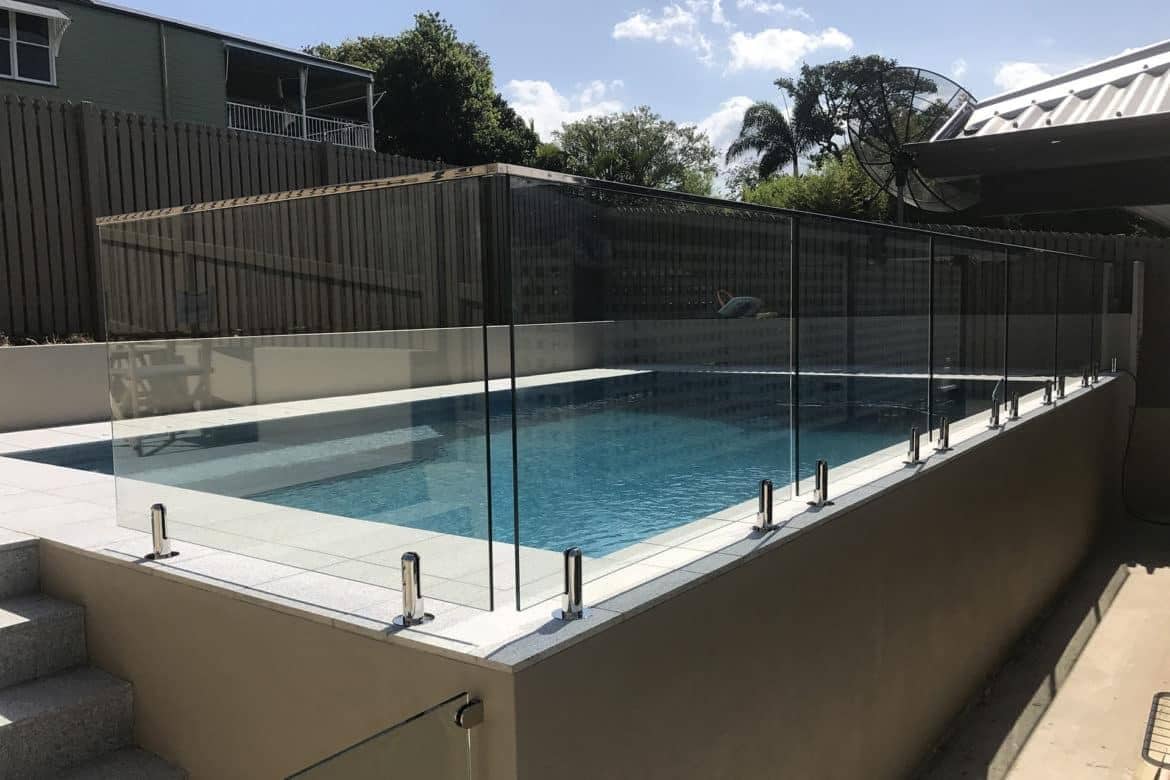
If you have young children, you should consider installing glass panels that will keep them safe without blocking your pool’s magnificent view. Gone are the days when people only installed pool fences that met safety regulations while taking away the appeal of their yards. If you do not want to compromise on looks, here are some steps that will help you to install glass pool fencing on your own.

IMAGE: AL’S GLASS WORK
Plan The Layout
What components do you require to erect a pool fence that will meet the council requirements? You can choose to install mini posts if you want to see over the fence. To work out what you require, you need to send dimensions to a glass pool fencing company and they will provide you with a cost estimate, parts list, as well as a diagram of the recommended configuration.
Installation Checklist
Before you start your project, you should do the following:
- Get in touch with the council to check what building regulations you need to adhere to
- Check the fence site for attachment points such as footing or concrete slabs
- Choose the right type of fencing for your site then figure out the parts that you need
- Order the required components and prepare the site while you wait
Prepare The Site
This fence system has posts that need to be secured to a footing or thick slab. Here is a step-by-step list of what to do:
Lift the pavers – start by working flat drive screwdrivers into your paving joints then use force to lift the pavers. Make sure that you lift as many pavers as it takes to reveal the footing site.
Excavate trenches – dig trenches with centerlines that correspond with the marked centerlines for your fence. You can use a mattock to loosen the compacted base then carry it away using a wheelbarrow.
Pour concrete footing – make concrete and pour it into the trenches then use a spirit level to level it. Once it dries, you should replace the pavers the pavers.
Install The Fencing
Set hole positions – start by screwing base plates to the mini-posts and make sure that you place posts 200mm from the glass. Line them up correctly before you start drilling.
Drill anchor holes – get a hammer drill to create anchor holes in the paving and into the footing.
Anchor the posts – place the mini-posts in their positions while paying attention to the alignment of the holes. You can use a caulking gun to place the chemical anchor into the holes.
Next, you should wind the anchor studs and leave a small part protruding over the plate base
Bolt the posts – give the chemical anchor an hour to cure then tighten anchor studs using a socket wrench to ensure that the base of your posts is secure. Once this is done, place a base cap over the mini-posts.
Secure the end brackets – start making the centerline of the fence as well as the top and base of the column glass panels. Secure the end brackets using crews.
Place glass panels – whilst wearing glass-slipping gloves, you and a helper should lift the glass panels into the posts. You have to ensure that the rubber insert is not folded but straight. Once you make sure that it is okay, slip the glass panel in position.
Secure glass panels – you should use a measuring tape to make sure that the glass panel is well placed then tighten the clamp using an Allen key.
Installing glass pool fencing is not hard, but you need to know your way around tools to do a good job.
If you are interested in even more lifestyle-related articles and information from us here at Bit Rebels then we have a lot to choose from.
COMMENTS